
 In this tutorial I'll show you how to set up the blog editor in the ScribeFire blog editor for use with Joomla. This way, you have an even easier way of publishing articles to your Joomla! blog.
Then, head on over to the Add-ons for Firefox site and download ScribeFire for free.
When you have ScribeFire installed, press F8 to bring up the ScribeFire editor. On the right hand side of the editor, you'll see something like this:
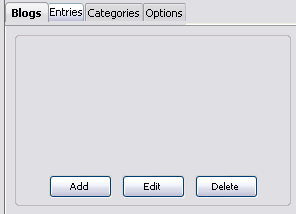
Click 'Add' to get started.
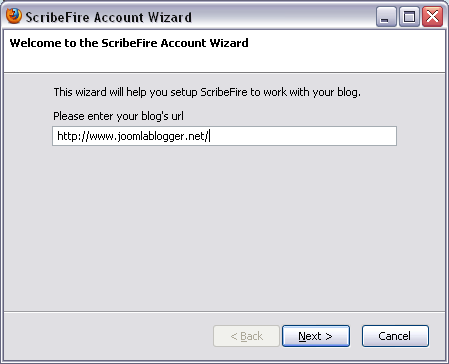
Enter your blog URL
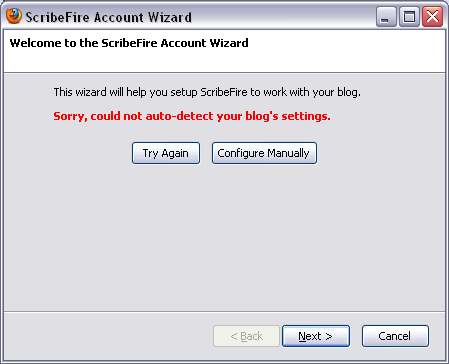
ScribeFire will not recognize the type of blog you have. Click 'Configure Manually'.
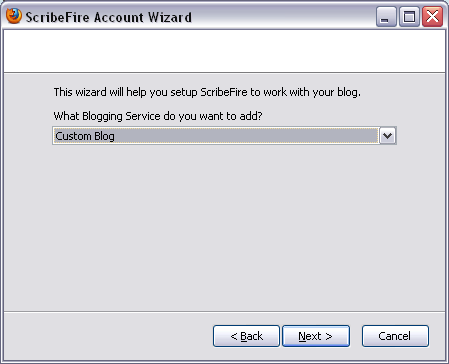
Choose 'Custom Blog'
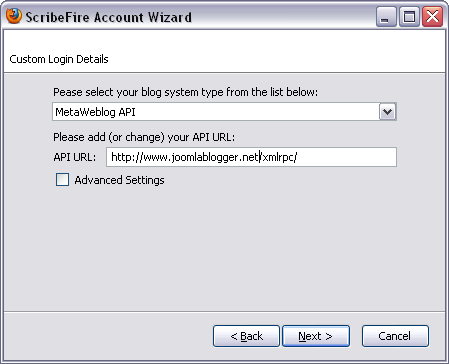
Choose 'MetaWeblog API' as blog system type. Then, enter your site URL and end it with /xmlrpc/
Example:
http://www.joomlablogger.net/xmlrpc/
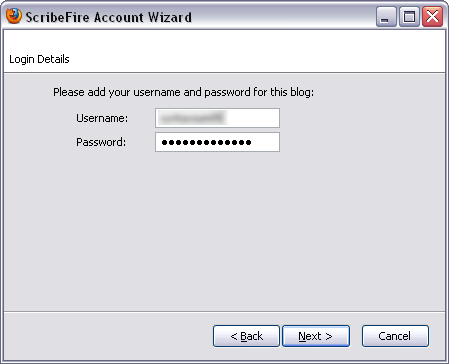
Enter your a Joomla Username and Password with Editor access and click 'Next'.
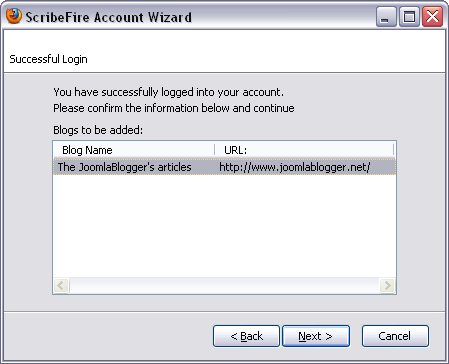
Now click 'Next' and you're all set to use ScribeFire. This way you have one more way to publish article to your Joomla blog or website.

Good luck on using ScribeFire as a blog editor for Joomla!